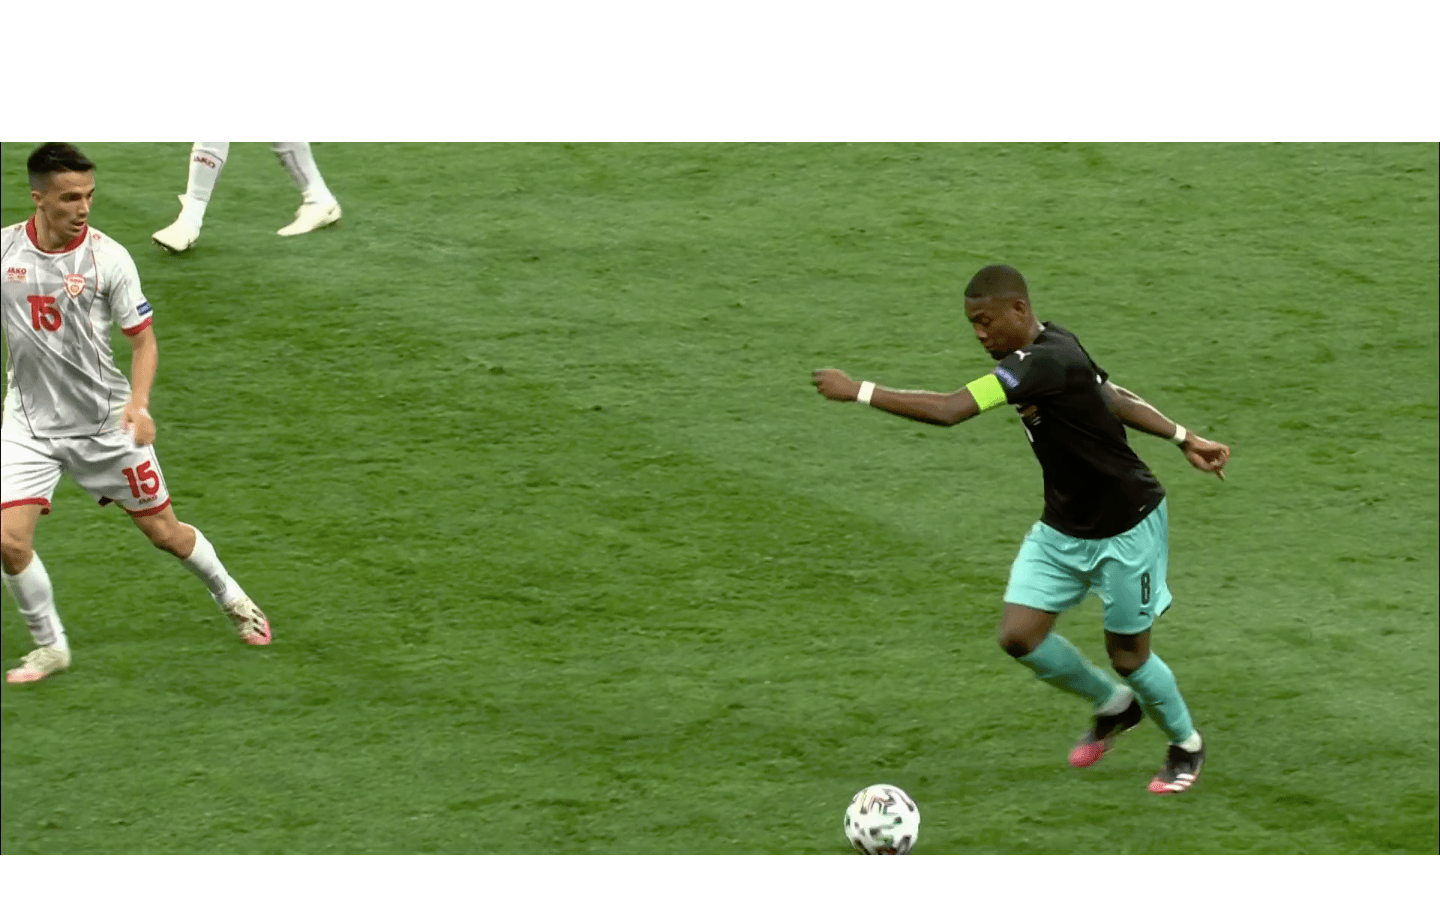
In the game between Austria and North Macedonia, David Alaba lined up in an odd position—the middle of Austria’s back three. Throughout his career, Alaba has played every position on the left flank, and made his name as the first-choice left-back for many title winning Bayern Munich sides. This past season, Bayern Munich manager Hansi Flick deployed Alaba on the left of a centre-back pairing to a high degree of success. His range of passing allowed him to start plays with long diagonal balls and his dribbling ability allowed him to break the first line of press. Defensively, Alaba’s pace was very helpful for recovery runs as he was paired with the much slower Jérôme Boateng or Niklas Süle. Even on the rarer occasions Alaba plays in midfield, he plays on the left of a double-pivot. So why was the Austrian multi-tool deployed in such a central position?
The answer to the question is actually the key to Austria manager Franco Foda’s back three system. Alaba had a sweeper role with the duties of cleaning up any balls that got behind the backline, and transitioning Austria from defence to attack.
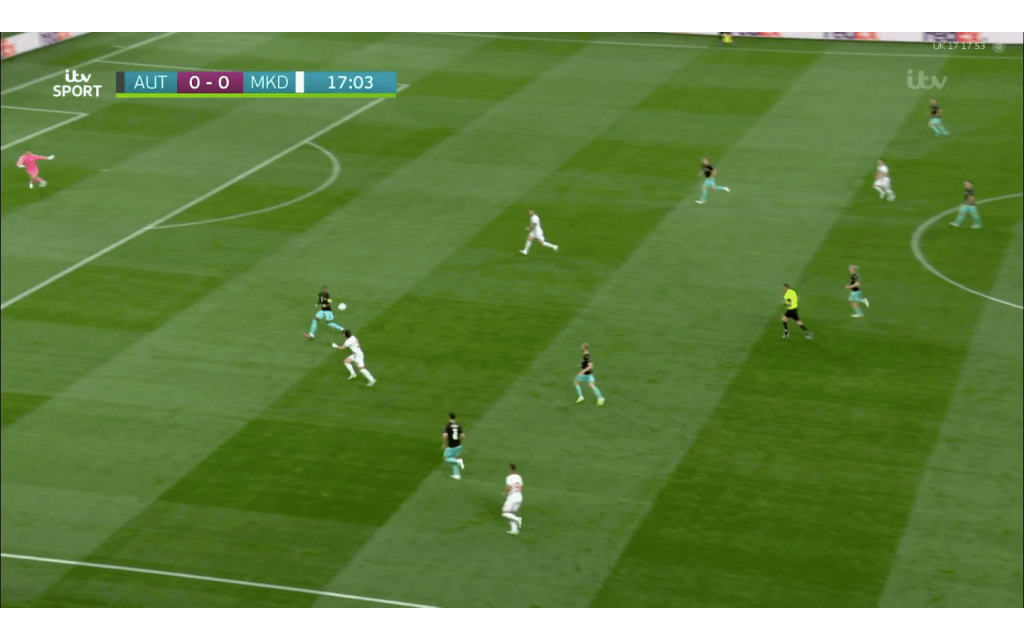
Here Alaba picks out a long North Macedonia pass, and dribbles to his right to get past his marker before making a pass up to right wing-back Stefan Lainer.
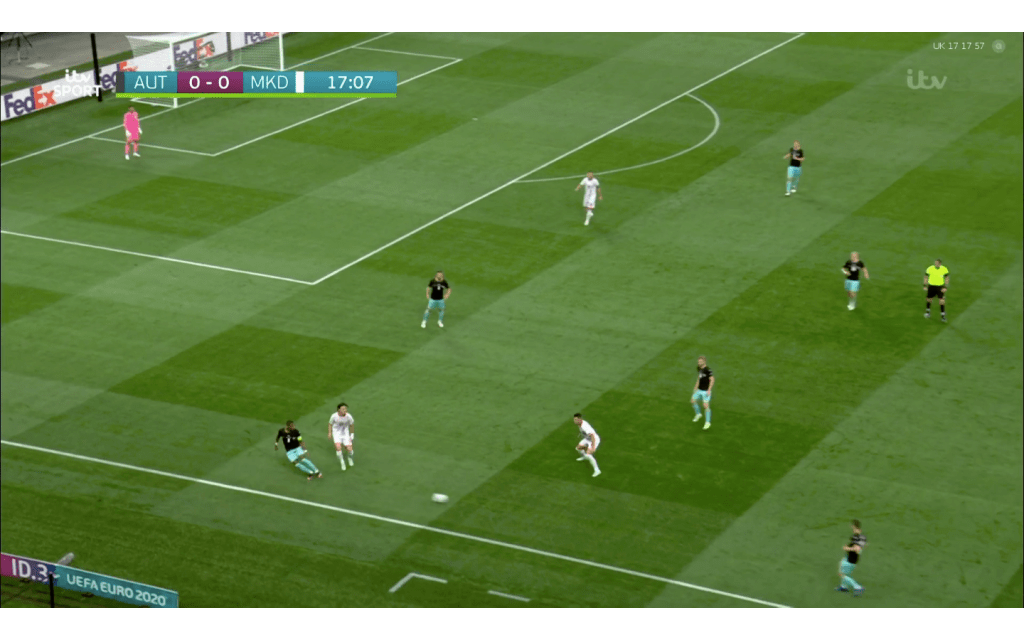
Whether it was through long diagonal balls or dribbling through the first line of press, Alaba was tasked with initiating Austria’s counter-attack quickly and from defence. With Alaba’s specific role in the back three, Aleksander Dragovic (on the right of Alaba) and Martin Hinteregger (on the left of Alaba) stayed back, allowing the wing-backs Andreas Ulmer and Stefan Lainer to get forward as soon as play was turned over. The wing-backs could get forward because the ball was leaving the danger area via an Alaba pass or dribble and Alaba could get forward because he had two defenders behind to cover the space. The system Austria used today was key in their plan to build up attacking play very quickly and get the ball from central positions in defence, to the wide players on the flanks, and finally to runners getting into the North Macedonian box. Alaba was key in making this all tick.
North Macedonia and Austria both used back three/five systems, but in very different ways. North Macedonia used the extra man in defence to step up to pressure the player in possession or force them towards a wide defender. The extra man can do this knowing he has two centre-backs covering the space behind. Here left centre-back Visar Musliu steps forward to make the challenge on Cristoph Baumgartner with Darko Velkovski and Stefan Ristovski marking the space behind.
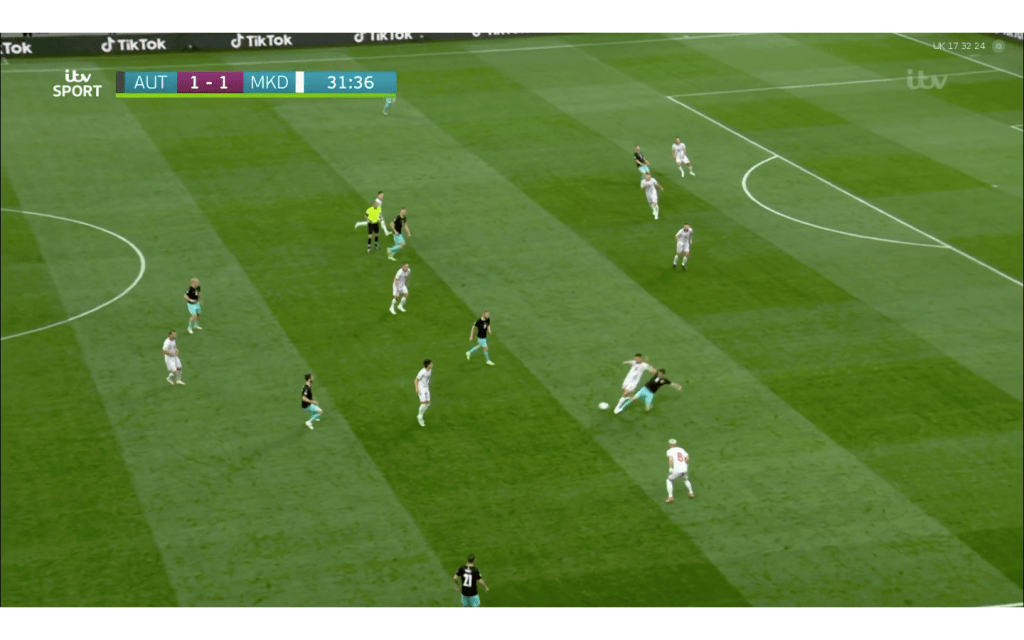
North Macedonia deployed a reactive back three/five system. Its use came in reaction to where the Austrian attack was coming from. Austria on the other hand deployed a proactive back three system. Alaba was tasked with turning the defensive play into attacking play as fast as possible as North Macedonia couldn’t attack if they simply didn’t have the ball.
So with more than half the possession of the ball, why did it take 60 minutes for Austria to get their second goal to restore their lead? They had a lot of chance creators, but not enough players in the box to get on the end of chances. Austria started the game with a front two of centre-forward Saša Kalajdžić and attacking midfielder Christoph Baumgartner. Kalajdžić, a natural centre-forward, was often in the box, but marked closely by North Macedonia’s centre-backs. Baumgartner dropped deeper to receive the ball or drifted into wide spaces. Austria’s main creative force, Sabitzer, stuck to the left flank and left channel to either whip the ball into the box or carry it inside looking for the final pass. Austria therefore relied heavily on other players to make late runs into the box—especially midfielder Konrad Laimer who often made runs to the back post. In fact, Austria’s first goal came from Lainer’s back post run from wing-back to get on the end of Sabitzer’s beautiful diagonal pass. On Austrian attacking plays, North Macedonia sat deep and compact, loading numbers in their own box to stifle any attack.
Austria’s numbers problem in North Macedonia’s box was exacerbated when forward Marko Arnautović came on for Kalajdžić. Arnautović, a converted winger, took Kalajdžić’s place up top, but often space around the left channel.
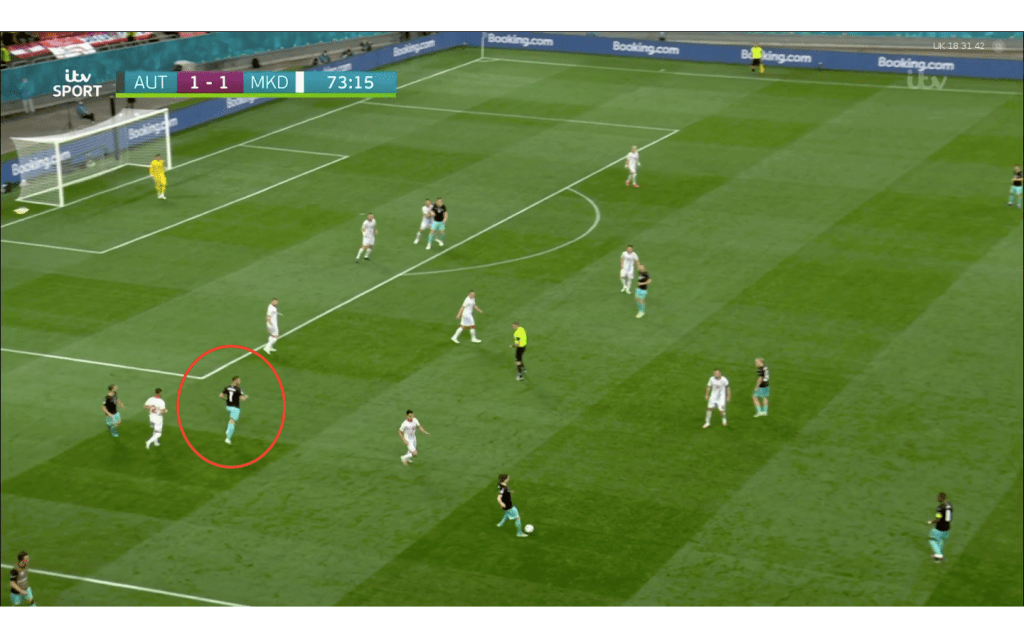
Even though he plays exclusively as a centre-forward for his club Shanghai Port, and often as a centre-forward for Austria, he started his career as a winger. His natural tendency is to drift wide to pick the ball up to cut inside, or drop deep to receive the ball to carry it forward.
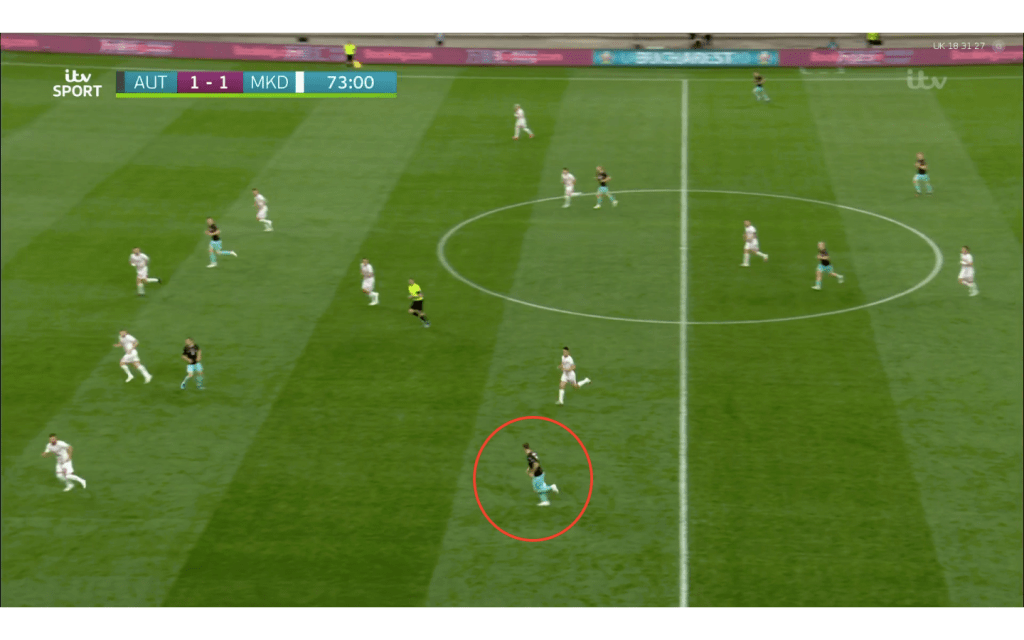
He even exhibited this issue in his last season with West Ham when he was often used as a centre-forward, despite playing on the wing in previous seasons. A common problem for many wingers converted into centre-forwards (see André Ayew). So with Ulmer sticking to the touchline and both Sabitzer and Arnautović occupying the left channel, fellow substitute Michael Gregoritsch was often the only player in the box waiting to get on the end of balls coming in. Even though Austria overloaded the left side for a man advantage, any chance they created from there would rely on magic from one or two players in the box to somehow get free from North Macedonia’s palisade and get on the end of a ball coming in.
And then in the 74th minute, the defining moment of the game happened—Alaba moved to the left of the back three with Hinteregger taking Alaba’s original position in the middle. In possession, Alaba would receive the ball on the left of the back three and drive forward. This change in position threw North Macedonia players off as they’ve been pressing and marking Alaba in central areas the entire game. With Alaba driving forward from a left centre-back position, Ulmer got even further forward, Sabitzer tucked inside, and Arnautović was forced to occupy central areas in the box. Alaba took space away from Arnautović in the left channels and he had to find central pockets of space to avoid getting in Alaba’s way. Austria retained their overload on the left, but now had Arnautović and sometimes even Ulmer join Gregoritsch in the box.
Then in the 78th minute, Alaba receives a pass from Sabitzer with space (Tihomir Kostadinov is hesitant to press with the danger of Alaba getting past him), takes two touches, and whips a marvelous ball into the box for Gregoritsch to score. It’s a magical moment and Austria are still outnumbered in the box, but it’s 4 v 6 as opposed to 2 v 6. Here you see Gregoritsch making a run forward to split two defenders, Arnautović above him occupying two defenders, Ulmer playing almost as a left winger, and Sabitzer in a central position.
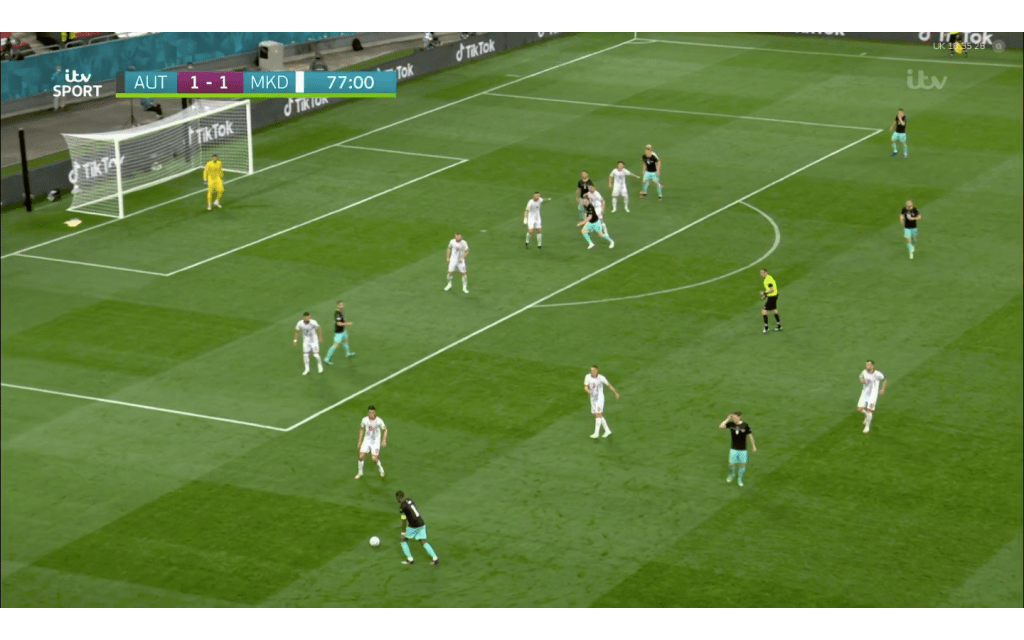
The change in position for David Alaba flipped a switch for Austria and threw something new at a stout, but tiring North Macedonia defence. With Austria’s lead restored and North Macedonia now chasing a goal, things unravelled and Austria got their third—Marko Arnautović being awarded for occupying central positions.
Franco Foda’s deployment of David Alaba in the middle of a back three was creative and a throwback to sweeper systems of the past. It was effective in building up play against a North Macedonia team that was going to sit deep. It was especially effective in its defensive utilization, getting the ball out of the danger area and transitioning the defensive play into an attacking play. When Austria needed a goal though, it was Alaba’s reversion to a more familiar left-side role that made the difference they needed. Yesterday was a good case of it sometimes being best to use even the most flexible players in their best positions.
